Common Magnetic Lash Mistakes Beginners Make (And How to Avoid Them)
If your first experience with magnetic lashes felt frustrating, you are not alone. Most beginner problems come from a few fixable mistakes: oily lids, choosing a style that is too dramatic, skipping trimming, clamping too quickly, rough removal, or storing lashes without cleaning them.
This guide breaks down the most common magnetic lash mistakes beginners make and shows you exactly how to avoid them. The goal is not to make your routine complicated. It is to help your lashes sit closer, feel lighter, last longer, and look more natural.
New to the category? Start with Magnetic Lashes 101. Want the hands-on tutorial next? Read How to Apply Magnetic Lashes for Beginners.
Quick Answer: Common Magnetic Lash Mistakes Beginners Make
The most common magnetic lash mistakes beginners make are applying lashes on oily lids, choosing a heavy style too early, not trimming the lash band, placing the lash too far from the lash line, rushing the magnetic connection, removing lashes roughly, and skipping cleaning or storage.
If your lashes lift, slide, pinch, feel heavy, or do not last as long as expected, the fix is usually a better prep routine, a lighter lash style, more careful placement, and cleaner storage.
- If lashes slip: clean oil and makeup residue before application.
- If corners lift: check band width and trim if needed.
- If lashes feel heavy: switch to a softer, more natural style.
- If lashes do not last: clean the band and store them in the case after each wear.

Mistake #1 – Skipping Eye and Lash Prep
Why it’s a problem
Magnetic lashes sit best when the lash line is clean. Oil, skincare, old mascara, sunscreen, and makeup residue can make the lash feel unstable. Even a good lash can lift if the surface underneath is slippery.
How to fix it
- Start with clean, dry lids.
- Remove heavy oil or balm residue before application.
- Use mascara lightly only if needed, and let it dry first.
- Keep the lash band free from makeup buildup.
If your pair already has buildup, follow How to Clean Magnetic Lashes.
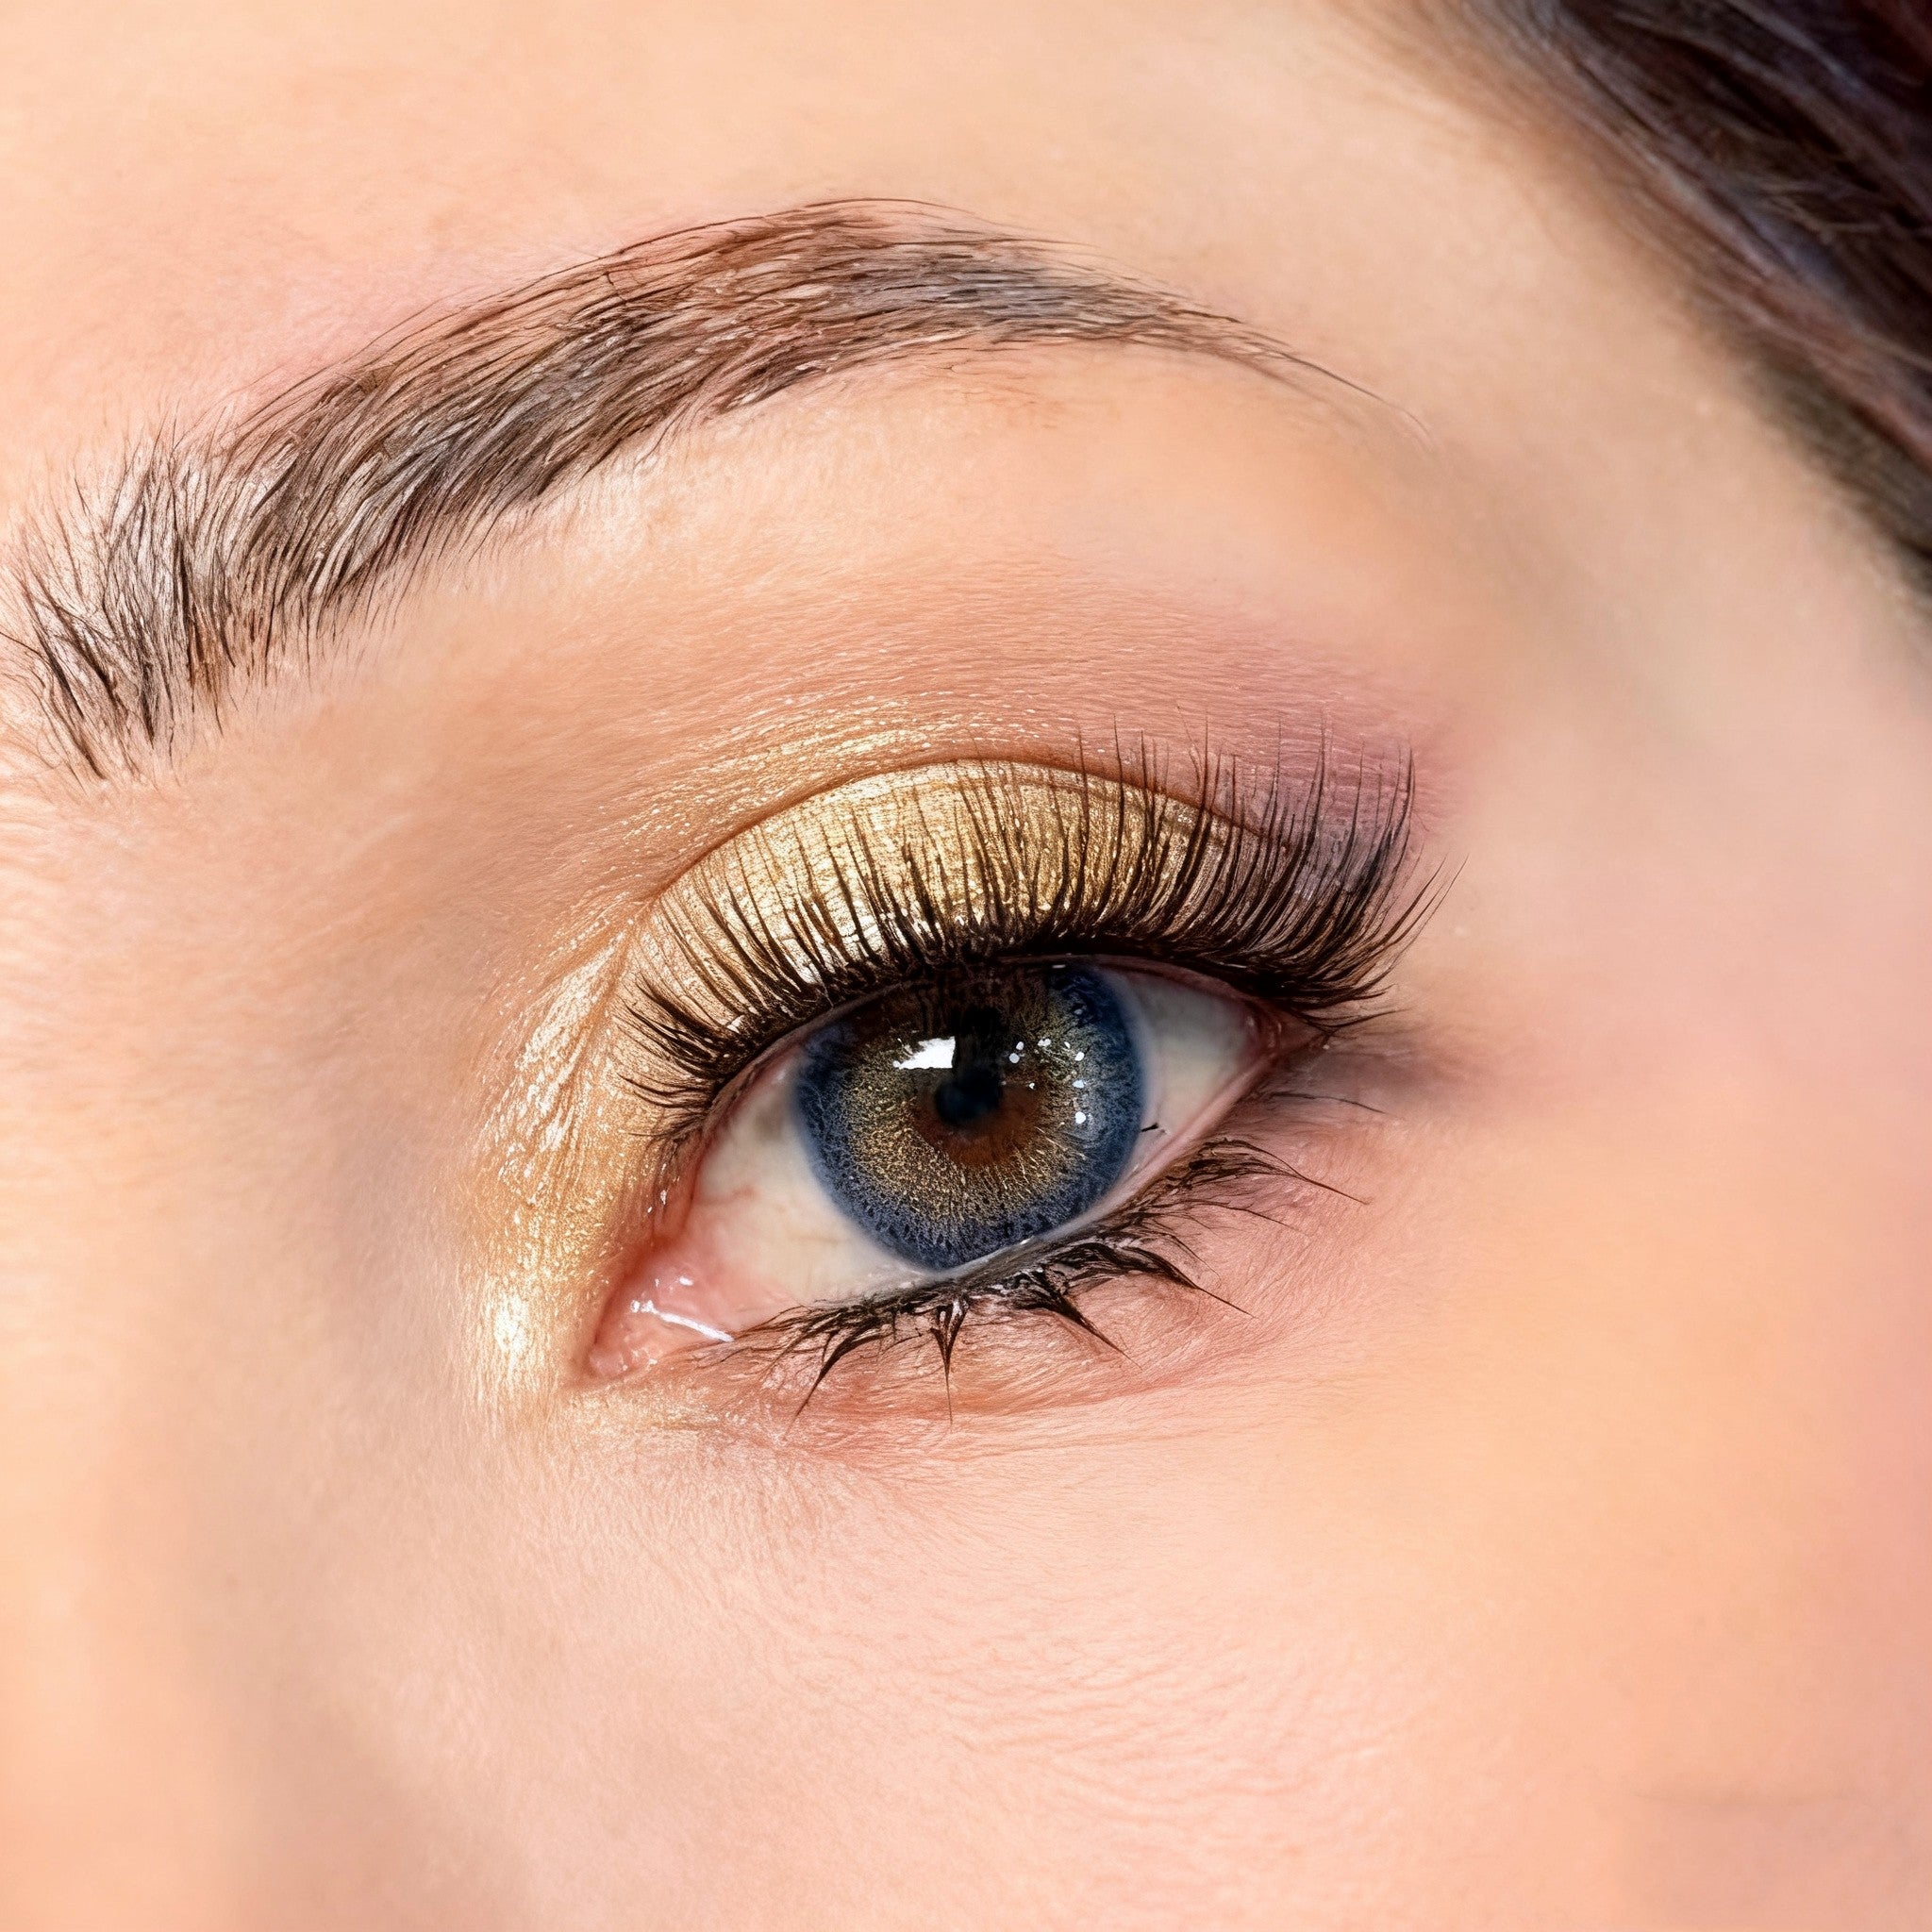
Mistake #2 – Choosing a Dramatic Style as Your First Pair
Why it’s a problem
A very long or dense lash can look exciting in photos, but it is often harder for beginners. Heavy-looking styles can feel less forgiving if placement is slightly off. They may also make the inner corner more noticeable.
How to fix it
Start with a wearable natural or soft-glam style. You want enough definition to see a difference, but not so much volume that the lash feels intimidating.
For a safe first pick, compare LunarMuse. For a more lifted soft-glam look after you are comfortable, consider Nebula Crown or GlitzBabe.

Mistake #3 – Not Trimming the Lash Band
Why it’s a problem
If the lash band is wider than your eye, the inner or outer corner can lift. Beginners often assume the lash is defective, when the real issue is simply fit.
How to fix it
- Hold the lash against your lash line before applying.
- Check whether the outer edge extends past your natural lash line.
- Trim a tiny amount from the outer end only if needed.
- Trim conservatively. You can always remove more, but you cannot add length back.
For a dedicated trimming guide, read How to Trim False Eyelashes.
Mistake #4 – Placing the Lash Too Far From the Lash Line
Why it’s a problem
Magnetic lashes look most natural when they sit close to your natural lash line. If they sit too high on the eyelid, they can look disconnected. If they sit too low, they can feel uncomfortable.
How to fix it
Use a mirror slightly below eye level, look down gently, and place the lash as close to the lash line as you comfortably can. With a lash-to-lash system, the goal is a clean magnetic connection around your natural lashes, not pressure on your eyelid.
If your pair keeps lifting or sliding, read Why Your Magnetic Lashes Won’t Stay On.
Mistake #5 – Trying to Clamp All the Magnets at Once
Why it’s a problem
Beginners often rush the attachment step. If you try to force every magnet to connect at once, the lash can sit unevenly or pinch in one spot.
How to fix it
Slow down the connection. Position the lash first, then let the magnets meet in a controlled way. LashNova’s routine is designed to feel simple:
- Split the upper and lower magnetic lash pieces.
- Position them around your natural lashes with the applicator.
- Adsorption lets the magnets connect.
- Clamp gently for a secure finish.
For the full routine, see How to Apply Magnetic Lashes.
Mistake #6 – Using Magnetic Liner Wrong
Why it’s a problem
If you use a liner-based magnetic lash, the liner matters. Applying too little liner, applying it unevenly, or attaching lashes before liner is ready can cause poor hold.
How to fix it
Follow the specific liner instructions from that brand. Let the liner set as directed and avoid oily skincare near the lash line. If you dislike liner steps, consider a no-liner system instead.
Compare both systems here: Magnetic Lashes With Liner vs Without Liner.
Mistake #7 – Pulling Lashes Off Roughly
Why it’s a problem
Rough removal can bend the lash band, weaken magnets, irritate the lash line, or pull at natural lashes. A reusable lash routine only works if removal is gentle.
How to fix it
- Do not yank the lash straight off.
- Separate the magnetic pieces gently.
- Use makeup remover only where needed for liner residue.
- Place the lashes back into their case after removal.
Read How to Remove Magnetic Eyelashes for a safer step-by-step routine.
Mistake #8 – Never Cleaning or Storing Your Lashes Properly
Why it’s a problem
Makeup, mascara, oil, and dust can build up on the lash band. That buildup can affect how the magnets connect and how comfortable the lash feels the next time you wear it.
How to fix it
After each wear, check the band and magnets. Remove residue gently and store the lashes in their case so they keep their shape. This is especially important if you want to reuse your lashes many times.
Helpful guides:
- How to Clean Magnetic Lashes
- How to Store Magnetic Lashes
- How Long Do Magnetic Lashes Last?
- Can You Reuse Magnetic Lashes?

Mistake #9 – Expecting Unrealistic Wear Time
Why it’s a problem
Magnetic lashes can be comfortable for daily routines, but wear time depends on prep, fit, style weight, weather, oil, tears, rubbing, and whether you are using liner. Expecting every lash to survive every condition can lead to disappointment.
How to fix it
Use the right lash for the occasion. For long days, choose comfort and fit over maximum drama. If you plan to wear lashes from morning to night, read Can You Wear Magnetic Lashes All Day?.
Mistake #10 – Ignoring Your Eye Shape
Why it’s a problem
A lash style that looks great on one person may not suit your lid space, eye width, or natural lash angle. Beginners often buy based only on model photos, then wonder why the lash feels wrong.
How to fix it
Choose by eye shape and comfort first. Helpful guides:
- How to Choose Magnetic Lashes for Different Eye Shapes
- Best Magnetic Lashes for Hooded Eyes
- Magnetic Lashes for Monolid and Asian Eyes
- Magnetic Lashes for Glasses Wearers
Quick Beginner-Friendly Routine
If you want the simplest routine, use this checklist:
- Clean and dry your lash line.
- Choose a lightweight, beginner-friendly style.
- Check band width before applying.
- Position close to the lash line.
- Let the magnets connect gently.
- Check both corners before leaving.
- Remove carefully at the end of the day.
- Clean and store the lashes after wear.
Browse the LashNova magnetic eyelashes collection to compare no-glue, no-liner styles.
FAQ: Common Magnetic Lash Mistakes Beginners Make
Why do my magnetic lashes keep lifting?
The most common reasons are oily lids, a band that is too wide, poor placement, or weak magnetic connection. Clean the lash line first, check the fit, and place the lash closer to your natural lash line.
Should beginners use dramatic magnetic lashes?
Usually not as a first pair. A natural or soft-glam style is easier to place, more comfortable, and more forgiving while you learn.
Can magnetic lashes damage natural lashes?
They should not damage natural lashes when used and removed gently. Problems usually come from rough removal, residue buildup, or forcing the lash into place. For safety details, read Are Magnetic Lashes Safe?.
How many times can I reuse magnetic lashes?
Reusable wear depends on lash quality, cleaning, and storage. LashNova lashes are designed for 100+ wears with proper care.
Final Thoughts: You’re Not Bad at Lashes, You Just Need a Better System
Most beginner lash problems are not personal failures. They are system, fit, and routine problems. Once you choose a lighter style, prep the lash line, place the band carefully, remove gently, and store the lashes correctly, magnetic lashes become much easier.
If you want a no-glue, no-liner routine, start with LunarMuse for daily wear or browse all LashNova magnetic lashes.